In this article, I will guide step by steps to configure inbound email in SuiteCRM. In it includes 2 sections. For easier visualize I will do it by config Inbound Email in SuiteCRM with Gmail.
1.Config personal inbound email in SuiteCRM
It’s helpful for you monitor personal email directly in SuiteCRM. To do that, you need to a password to login from SuiteCRM. For safe, you please DON’T use your email password to login. You need to create new application password for grant permission to login email from third-partly application. This feature available in gmail . Ok, let me guide you how to generate an application password in gmail.
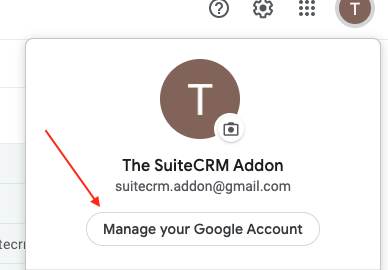
1.1 You should be login into your gmail > Select ‘Manage your Google Account’
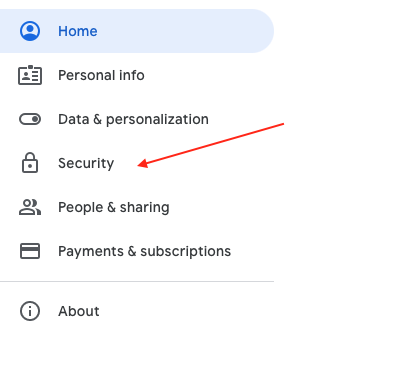
1.2 On left side menu > Click ‘Security’
1.3 Go to ‘Signing in to Google’ > Enable ‘2-Step Verification’ first
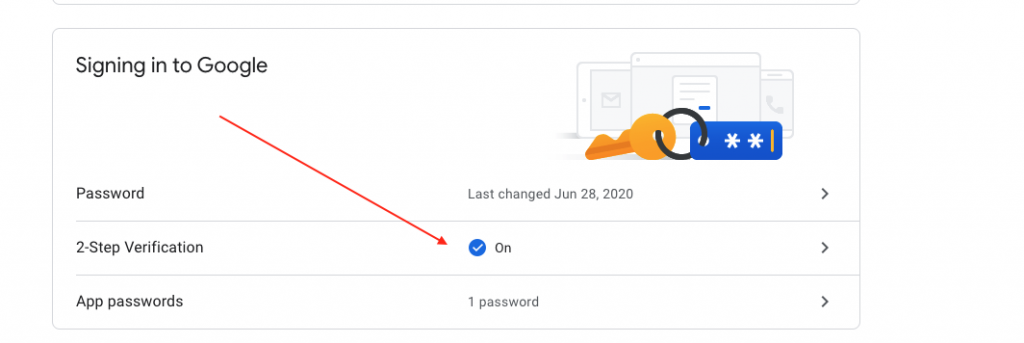
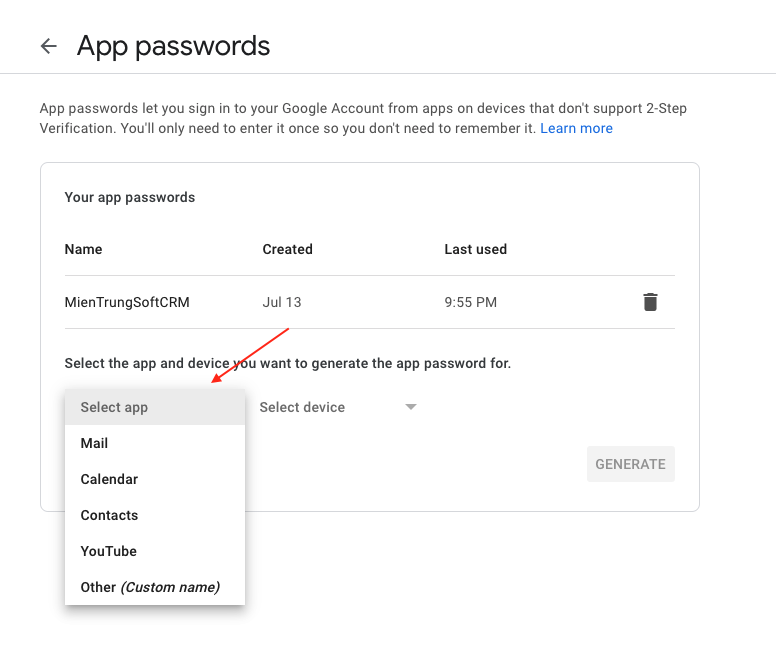
1.4 Once you enabled 2-Step Verification > See above image > Click to open ‘App passwords’ feature > Selection an app > Input your app/web (For example: SuiteCRM)
Note: At this step, the system will required you re-enter your password email. So you should be completed it first. Also, At selected Other option in Select App
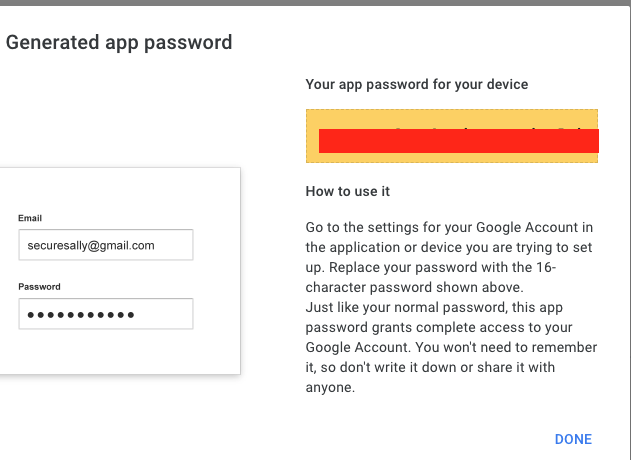
1.5 Click ‘Generate’ > then copy it.
1.6 After, you have an application password. Login into your SuiteCRM > Go to your profile > Scroll to Bottom page > Click on ‘Settings’ button

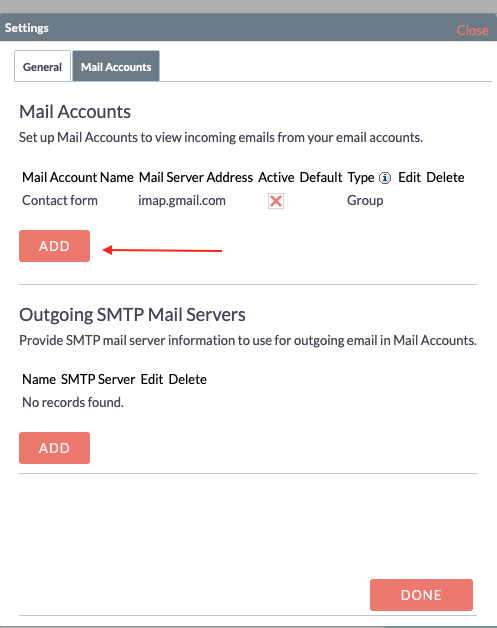
1.7 Click On ‘Mail Account’ Tab > On Mail Accounts panel > Click ‘Add
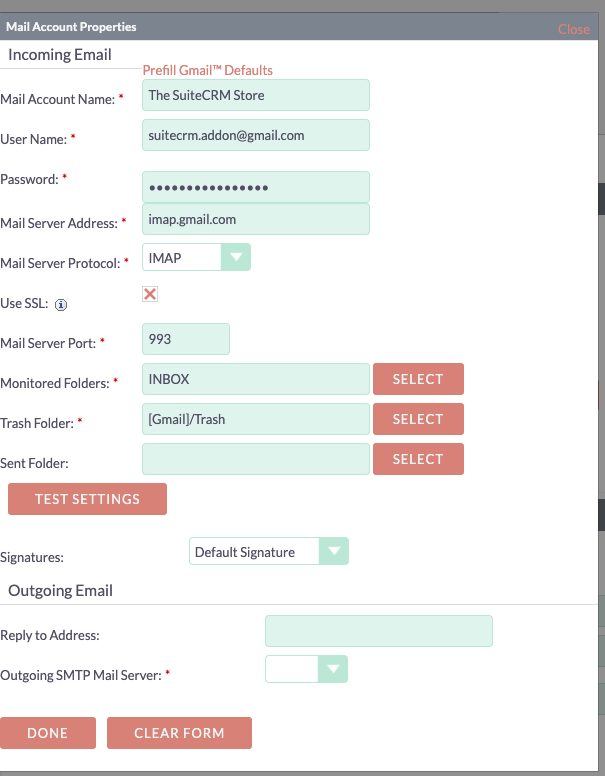
1.8 Inbound Emails configuration form will show as bellow
On this step, if you are using gmail > Click on Prefill Gmail Default to quick fill Mail Servcer Address, SSL And Mail Server Port.
- User Name: Is your email
- Password: Application Password you have generated before
- Monitored Folders: Select the Mail Folders that’s you want to monitor
- Trash Folders: Select the Trash Mail Folders that’s you want to monitor
1. 9 Click Test Settings to verify. If it’s show as below message. You have configured successful

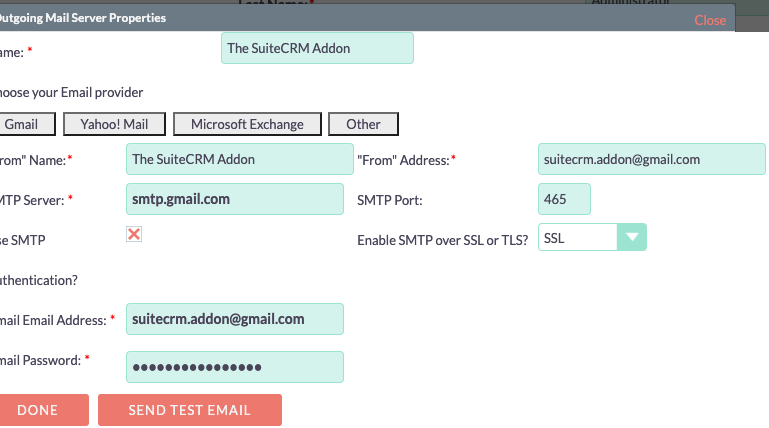
1.10 Hit ‘DONE’ to completed. On this step, if the system required config Outgoing Email. You can config similar Inbound Emails with current your email. (See below)
1.11 Let’s go to the Emails module and check the result

2. Config group inbound email in SuiteCRM (For admin user)
At section 1, Any CRM users can configuration that to monitor only email in they self and can not share to other users. At this section it’s only available for admin user. Because, this config can share to any users. This is helpful for some cases. For example: Support email of your company, or you need convert email to a record in the Cases module.
Basically, To do that, you should be generate new Application password as above is precondition.
2.1 After, you generated a application password. You should be login as admin user then go to Admin area
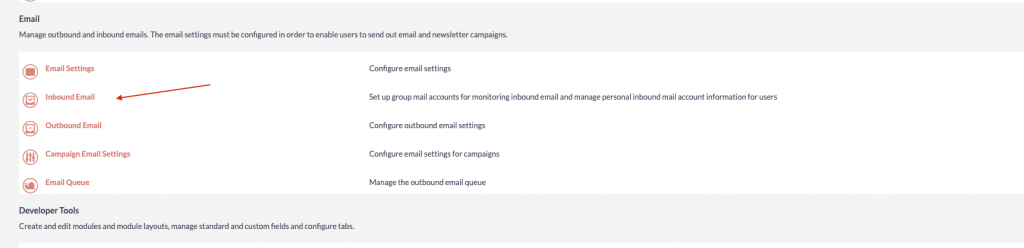
2.2 In Side Menu > Click New Group Mail Account

2.2 Fill information similar at section 1
Also, you will able to config more information. For example: Auto create case from email or set up email to auto response…..
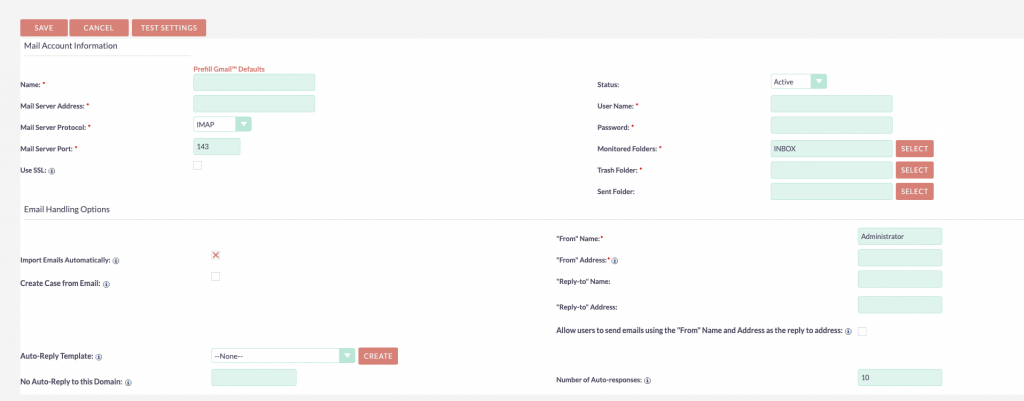
2.3 Hit ‘SAVE’ to complete
Thanks for reading. Good luck